Unlock Easy App Deployment: A Beginner's Guide to Docker Containers
Introduction
Docker often comes across as a complex developer tool reserved for terminal commands and server infrastructure. But beneath the technical facade lies a simple, elegant solution: packaging software into portable containers. Each container bundles an application, its dependencies, and its environment, ensuring consistent behavior no matter where it runs. This guide demystifies Docker by walking you through running useful apps—like Nextcloud, Jellyfin, or Home Assistant—without the usual hurdles. By the end, you'll see how Docker makes deploying software as easy as downloading and running a single command.
What You Need
- A computer running Linux, macOS, or Windows 10/11 Pro/Enterprise (for WSL2 or Hyper-V) – Docker Desktop works on all major platforms.
- Docker installed – We'll cover installation in Step 1. Get the free Community Edition from docker.com.
- Basic command-line familiarity – You'll type a few commands, but detailed prompts are provided.
- Internet connection – For downloading Docker images from Docker Hub.
- Optional: A web browser to access the apps you deploy.
Step-by-Step Guide
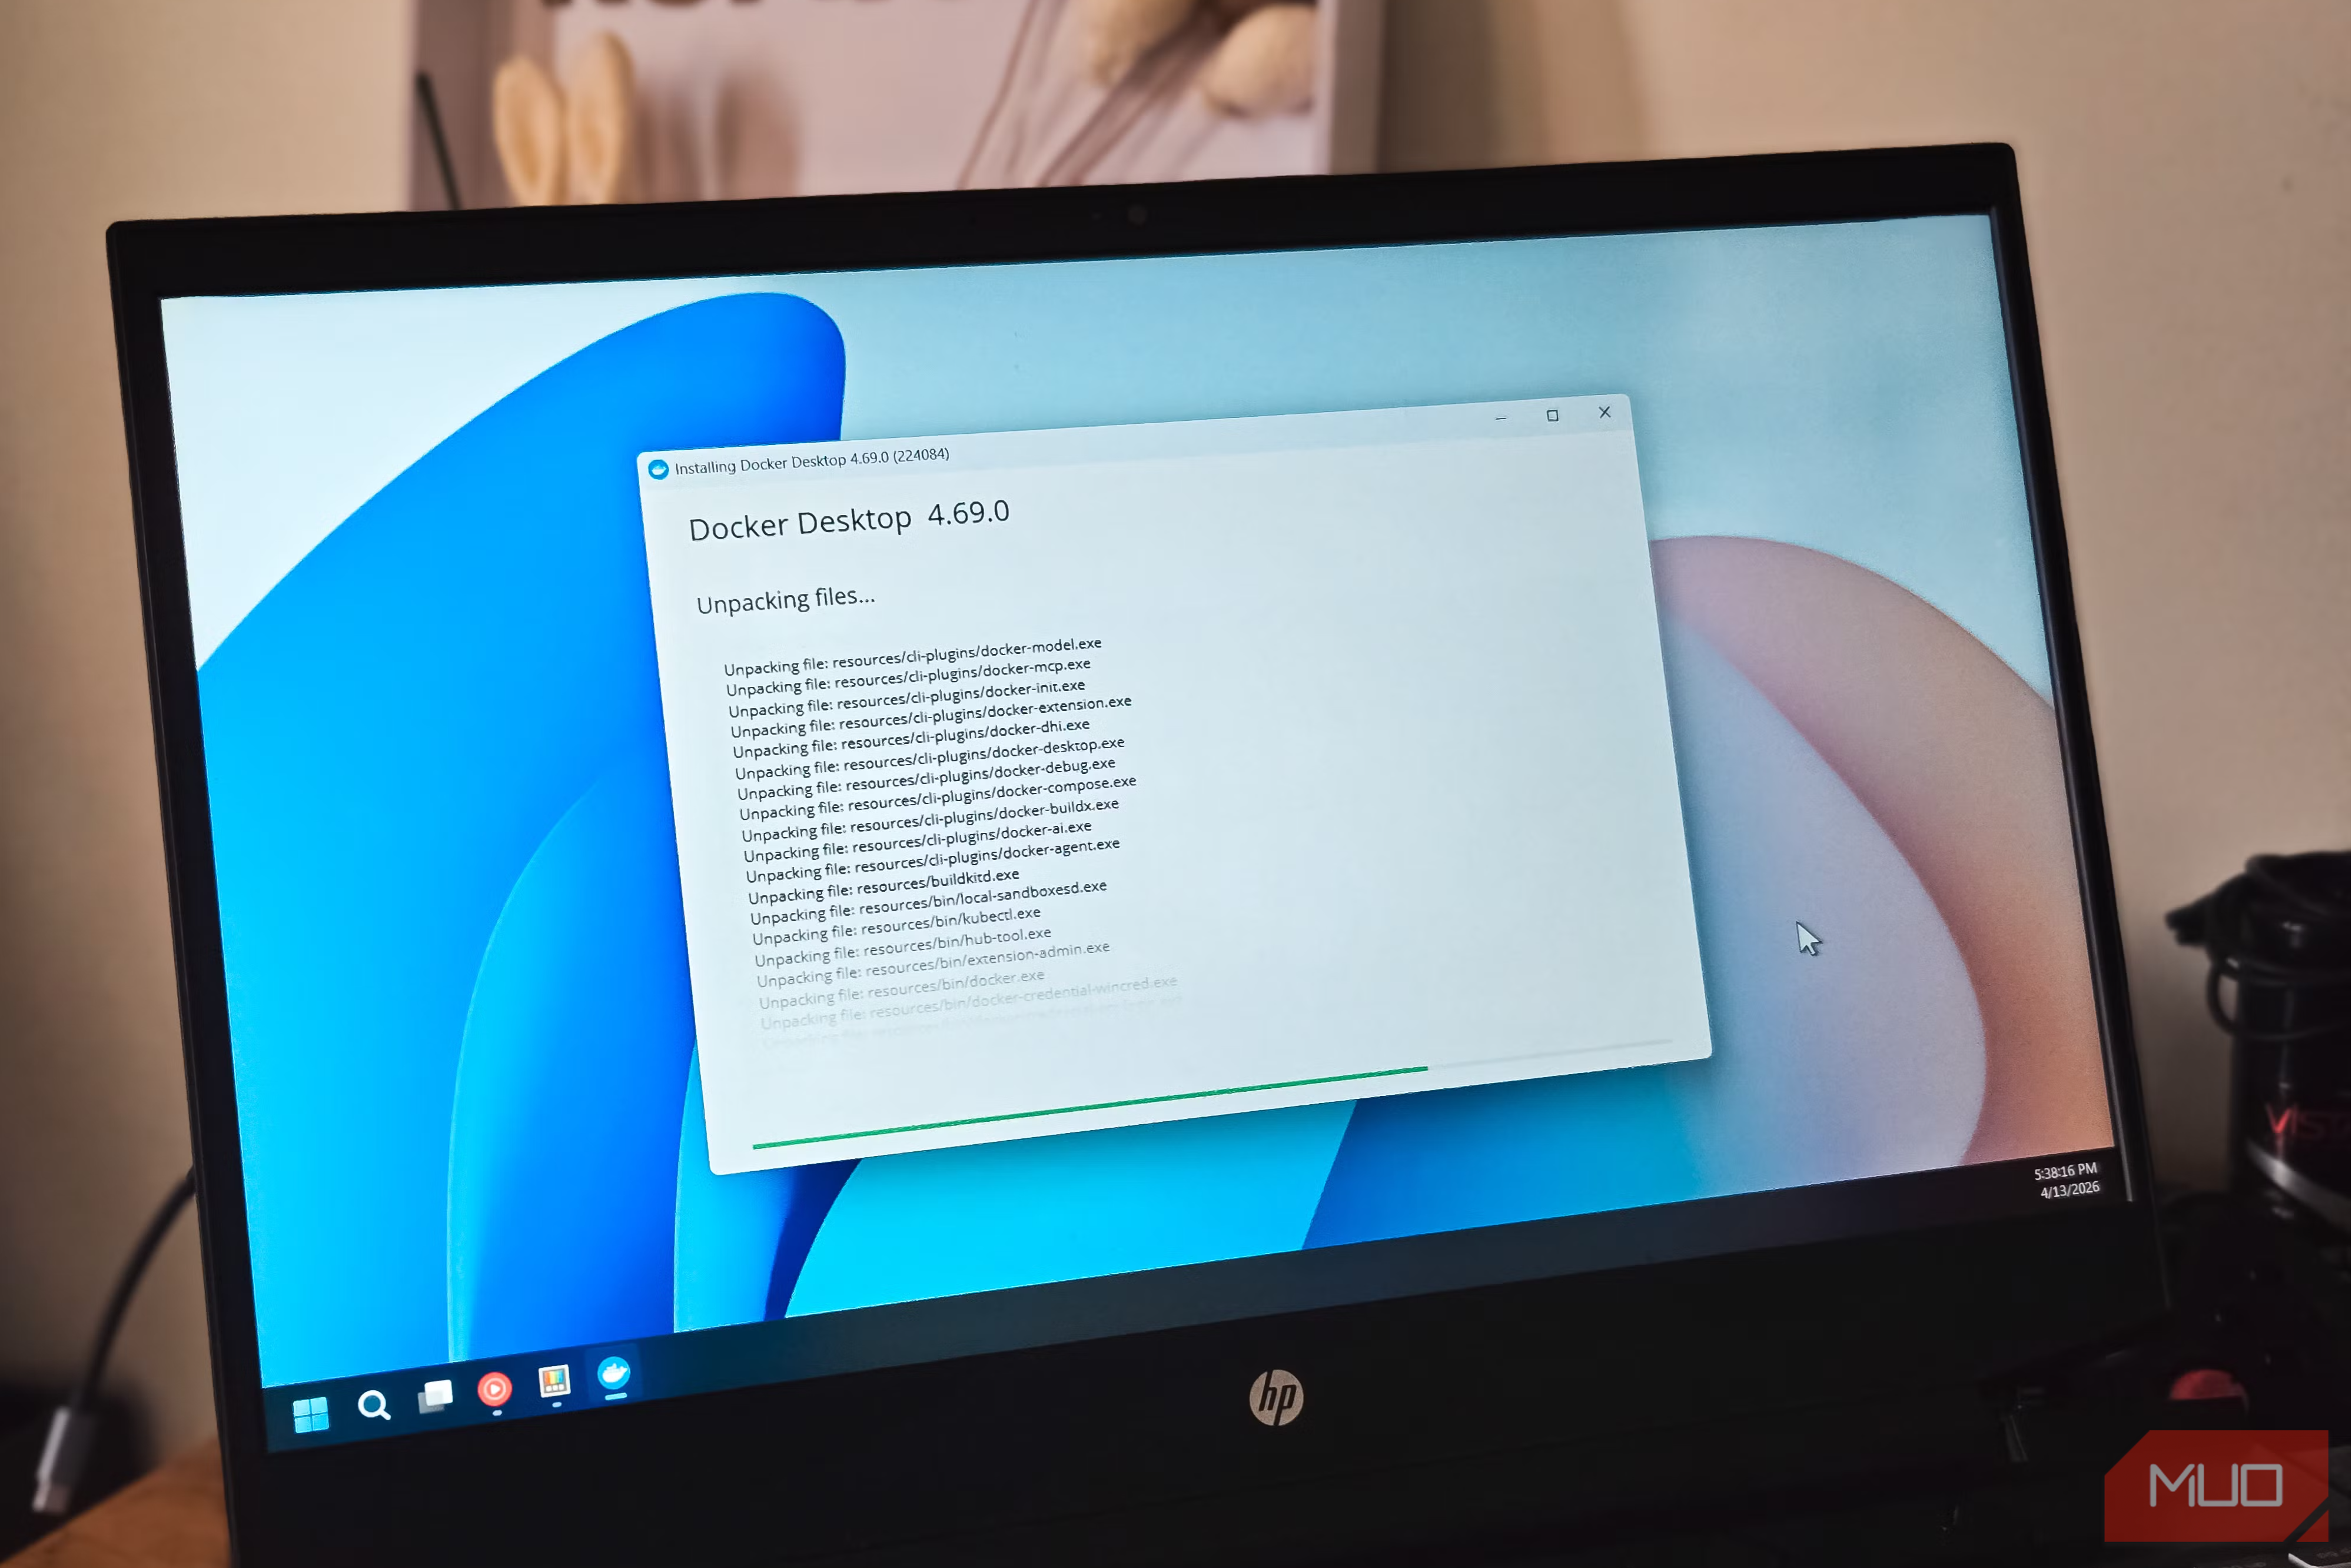
- Install Docker on your system
Go to docker.com, download Docker Desktop for your OS, and run the installer. Follow the on-screen instructions. On Windows, enable WSL2 during setup for better performance. After installation, open a terminal (Command Prompt, PowerShell, or Linux terminal) and verify withdocker --version. You should see the installed version number. - Find an app container on Docker Hub
Visit Docker Hub, the official registry for container images. Search for an app you want to run—for example, Nextcloud (file sync), Jellyfin (media server), or Home Assistant (home automation). Each app has an official image maintained by its developers. Click on the image to see details, tags (versions), and documentation. Note the image name, likenextcloud,jellyfin/jellyfin, orhomeassistant/home-assistant. - Pull the Docker image
In your terminal, rundocker pull <image-name>. For example, to get Nextcloud:docker pull nextcloud. Docker downloads the pre-configured image layers to your local machine. This may take a minute depending on the image size and your internet speed. You only need to pull once—later runs will use the cached image. - Run the container with a basic command
Now start the container usingdocker run. Many apps require port mapping so you can access them from your browser. Use the-pflag to map a host port to the container port (usually 80 for web apps). Example for Nextcloud:docker run -d -p 8080:80 nextcloud. The-dflag runs it in detached mode (background). After a few seconds, open your browser and go tohttp://localhost:8080. You should see the Nextcloud setup page! - Configure persistent storage and environment variables
Containers are ephemeral by default—data disappears when the container stops. To keep your files and settings, mount a host directory to the container using the-vflag. For Nextcloud, add-v /path/to/your/data:/var/www/html. Also set environment variables like admin credentials with-e. Example:docker run -d -p 8080:80 -v /home/user/nextcloud-data:/var/www/html -e NEXTCLOUD_ADMIN_USER=admin -e NEXTCLOUD_ADMIN_PASSWORD=password nextcloud
Replace paths and passwords as needed. Now your app data persists across restarts. - Use Docker Compose for multi-container apps
Many apps require a database or other services alongside them. Docker Compose lets you define multiple containers in a single YAML file. Create a file nameddocker-compose.ymlin a project folder. For a typical Nextcloud setup with MariaDB, the file might look like:version: '3' services: db: image: mariadb environment: MYSQL_ROOT_PASSWORD: rootpass MYSQL_DATABASE: nextcloud MYSQL_USER: nextcloud MYSQL_PASSWORD: pass app: image: nextcloud ports: - "8080:80" volumes: - ./data:/var/www/html depends_on: - db
Then rundocker-compose up -dto start everything. This makes managing complex setups simple and repeatable. - Access and explore your app
After the container(s) are running, open your browser to the configured port (e.g.,http://localhost:8080). Complete any initial setup, create an account, and start using the app. Docker ensures the environment is identical to the developer's intention, so everything works smoothly. Over time, you can update the image by pulling a newer version and restarting the container withdocker stopanddocker start.
Tips for Success
- Start with official images – They are well maintained, secure, and updated often. Check the Stars and Downloads on Docker Hub.
- Use named volumes – Instead of bind mounts (
-v /host/path:/container/path), try Docker volumes (-v volume_name:/container/path) for easier management. Create a volume withdocker volume create mydatathen reference it. - Map ports carefully – Avoid conflicts by using unique host ports. For example, if you already have a web server on port 80, use 8080 or another free port.
- Read the documentation – Each image on Docker Hub includes a Quick Reference with required environment variables and volume paths. Follow those for optimal setup.
- Keep containers up to date – Periodically run
docker pull <image>to get the latest version, then recreate the container. Usedocker system pruneto clean unused data. - Experiment with one app first – Pick a simple service like a file server or media player. Once you're comfortable, move to multi-container setups with Docker Compose. This builds confidence.
Docker transforms the way you deploy and run software. By packaging everything into a portable unit, it eliminates environment inconsistencies and simplifies installation. You no longer need to hunt down dependencies or worry about breaking your system. With the steps above, you can start using powerful apps in minutes—just pull, run, and enjoy. As you explore further, you'll discover why Docker has become a cornerstone of modern software deployment.
Related Articles
- Jack Reacher's Return: Prime Video Confirms Season 5 Renewal for Hit Series
- Master AI-Assisted Development with Claude Code: A Beginner's Guide
- April 2026 Linux Software Update Q&A: Firefox, Kdenlive, VirtualBox & More
- 10 Essential Insights into Microsoft Agent Framework for AI Development
- GIMP 3.2.4 Ships Critical Bug Fixes for Layer Handling and Naming Stability
- Why Zed Finally Clicked for Me When I Stopped Treating It as a VS Code Killer
- Microsoft and GitHub to Showcase Cutting-Edge Python Tools at PyCon US 2026
- Ibogaine Shows Promise in Treating PTSD Among Military Veterans